The Anatomy of an Eavestrough Leak and How to Spot the Damage Before It Hits Your Pockets
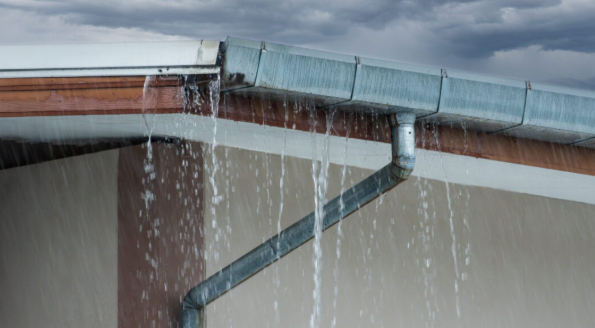
It’s a classic scenario for many Ottawa homeowners: the storm clouds roll in, a heavy downpour begins, and you look out your window only to see water cascading like a waterfall—not out of your downspouts, but directly behind your gutters, soaking your soffits, or dripping heavily over your front storm door.
When water ends up where it shouldn't be, it's rarely just an inconvenience. Left unchecked, a seemingly minor eavestrough leak can quietly rot your exterior wooden fascia boards, erode your foundation landscaping, and even compromise your basement walls. To understand why your gutter system is leaking, you first have to look at how it interacts with your roof line. It isn't just a simple metal trough screwed to the side of your house; it is part of a carefully calibrated water shedding network.
The Structural Network: How Your Roofline Elements Interact
To effectively troubleshoot a leak, a homeowner needs to understand the exact line of defense water encounters as it travels down the roof. When components pull apart or are improperly aligned during an installation or cleanup, water finds a structural path of least resistance directly into your home's framing.
The Roof Shingles: Your primary defense shield. Shingles must extend slightly past the edge of the roofline (typically 1/4 to 3/4 of an inch) to ensure that running rainwater cleanly clears the architectural edge and drops downward.
The Drip Edge: A critical piece of angled metal flashing installed beneath the first layer of shingles. According to building guidelines outlined by the National Research Council Canada (nrc.canada.ca), proper flashing elements are essential to direct water away from vulnerable roof decks and straight into the drainage path. The drip edge must slide neatly behind the back layer of the eavestrough.
The Fascia Board: The horizontal wooden or aluminum-capped board that runs along the roof edge. This acts as the structural foundation that your eavestrough system is mounted to using heavy-duty brackets or hidden hangers.
The Eavestrough: The final collector channel. It must be positioned securely tucked underneath the drip edge flashing so that water can never find a gap to slip behind the system.
⚠️ The "Behind-The-Gutter" Nightmare: If your gutter gets pushed up too high during a manual leaf screen or guard installation, or if it sags over time, it can accidentally dislodge, bend, or flatten the drip edge. When this happens, water slips backward beneath the shingles, soaking the wooden fascia board and draining right into your soffit or over your window frames.
Three Critical Red Flags Every Homeowner Should Look For
Catching gutter failure early doesn't always require climbing a tall extension ladder. During the next rainstorm, take a safe walk around your property line and closely inspect the roof perimeter for these three common failure modes:
1. Gutter Pulling Away or Separation
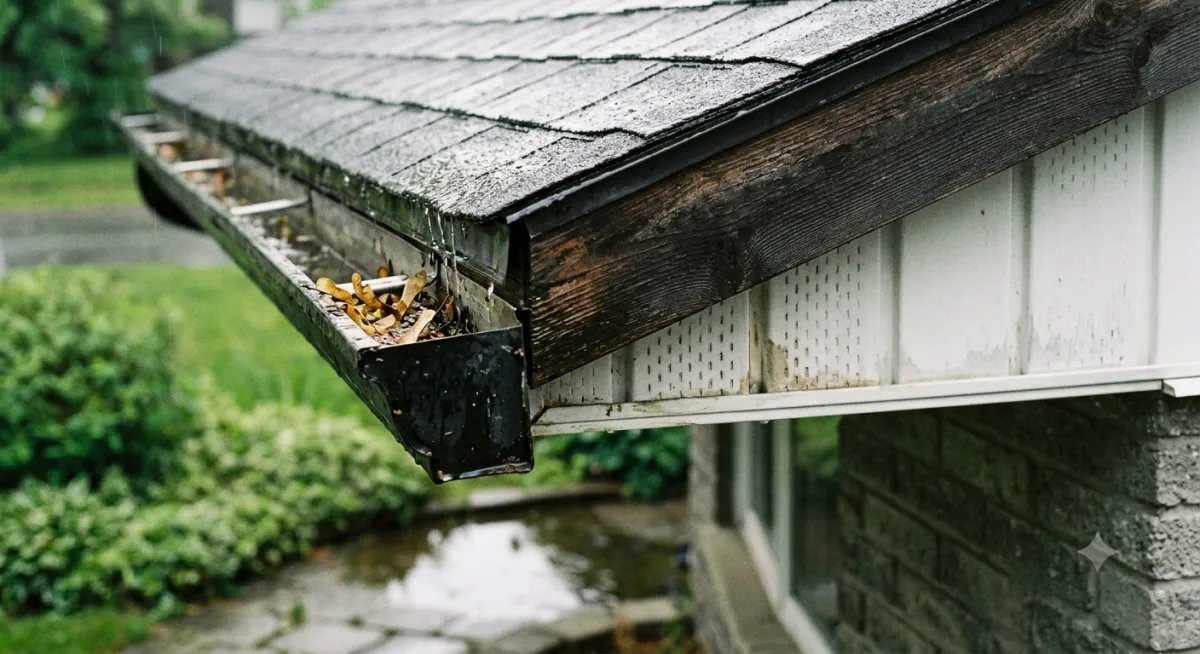
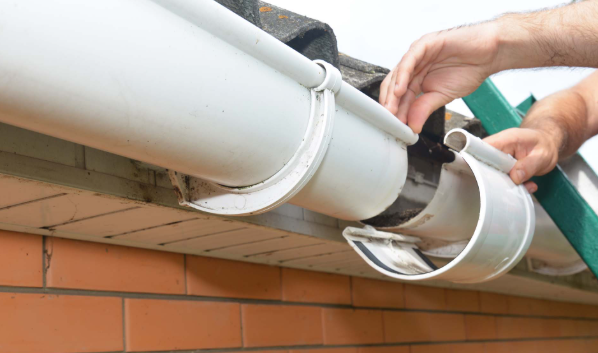
Heavy snow accumulation and ice damming during harsh Ottawa winters place tremendous mechanical stress on your gutter fasteners. Over time, traditional spike-and-ferrule systems or cheap brackets can loosen. If you look up and notice a visible spatial gap between the straight edge of your aluminum gutter and the flat surface of the fascia board, the system is actively failing. Rainwater will drop straight through this gap, entirely bypassing the eavestrough.
2. Structural Sagging and Water Pooling
Eavestroughs are engineered to look completely level from the ground while maintaining a very subtle downward slope toward the downspouts. If organic debris, sludge, or heavy wet leaves pile up inside the channel, the sheer weight can cause sections of the metal to warp and sag downward. If you spot standing pools of stagnant water long after a rainstorm has ended, that specific section has lost its operational pitch and requires professional structural re-fastening.
3. Bad Mechanical Pitch
A perfect gutter system must drop roughly 1/4 inch for every 10 feet of horizontal run toward a downspout channel. If a house settles structurally, or if the initial layout calculations were slightly off, a system can become "back-pitched." This causes rainwater to pool at the opposite end of the downspout, filling the system completely until it overflows out the back edge against your building siding.
Proactive Diagnostics: Safely Troubleshooting at Home
If you suspect a leak but want concrete proof before booking a repair team, you can consult seasonal household diagnostic guidelines like those provided via the Canada Mortgage and Housing Corporation (cmhc-schl.gc.ca) for tracking moisture issues. Alternatively, a simple home test during a dry afternoon can provide clarity.
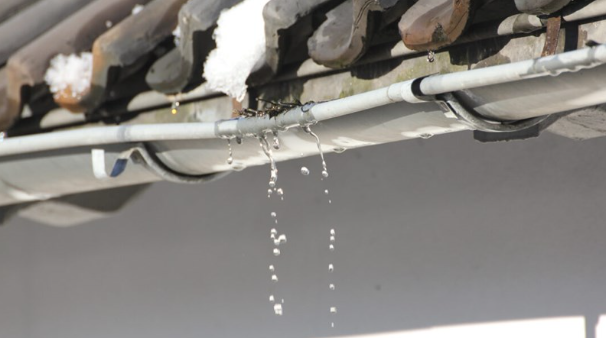
Take a standard backyard garden hose up a secure stepladder and place the nozzle into the highest point of your eavestrough channel away from the downspout. Let the water run at a moderate pace for 5 to 10 minutes. Watch the path of the flow carefully. Is the water draining rapidly away? Is it pooling heavily in a central dip? Or is it actively weeping out through unsealed corner miters or dripping from behind the rear aluminum casing? Tracking this path tells you exactly where the system’s structural integrity has broken down.
Protecting Your Structural Investment
Your home’s foundation and exterior framing rely entirely on a functional roof drainage system. If you want to dive deeper into how modern water management and local construction safety shape residential durability across Ontario, you can review residential safety codes and structural rules through the Ontario Ministry of Municipal Affairs and Housing (ontario.ca/mah).
Don't let a small leak turn into an expensive structural replacement. Keep your eyes on your roofline, check your drip edges, and address sagging sections as soon as they appear!
Get in touch with our team today for a free estimate!
📞 Phone: 613-324-7999 / 343-224-0182
📧 Email:[email protected]